those fancy lights, huh? Well, let’s dive in!

I get it – lighting can feel intimidating, like a whole new language, but trust me, once you understand the basics, it’s a blast! It’s all about shaping the light to create the mood and vibe you want for your portraits.
Think of it like this: light is your paintbrush. You can make your subject look soft and dreamy or edgy and dramatic. It’s super cool!
First things first, let’s talk about those three main light buddies you’ll hear about all the time:
Key light: This is your superstar! It’s the main source of light, the one that really illuminates your subject. Think of it as the sun in a sunny afternoon.
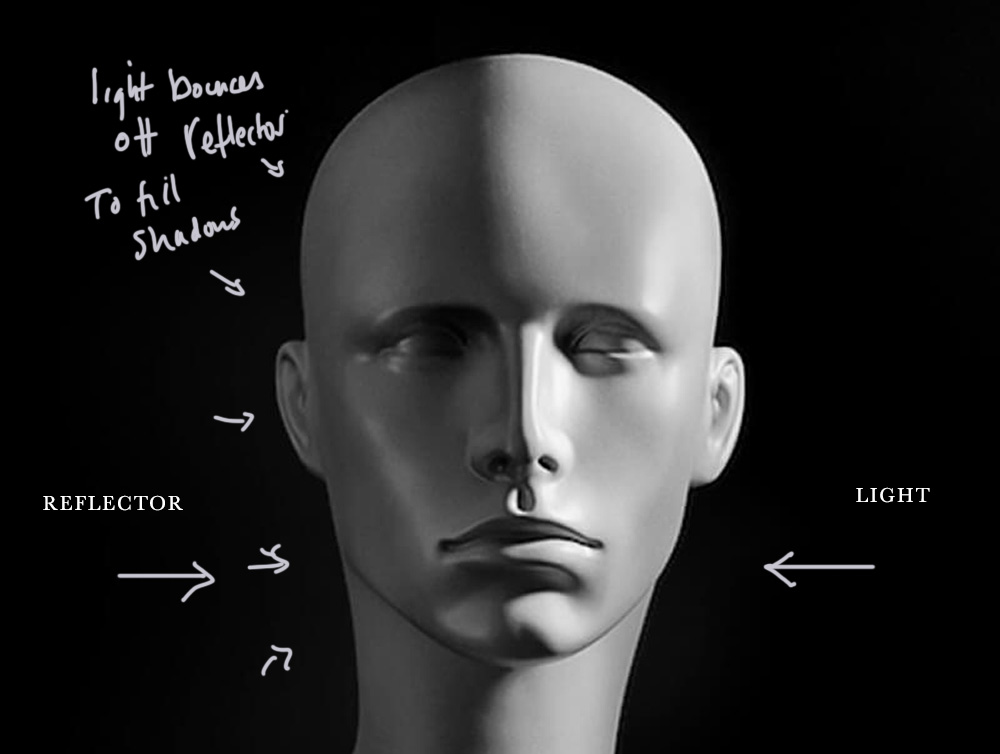
Fill light: This light is like your best friend, helping to soften the shadows created by the key light. You can think of this as a “fill-in” for the shadows.
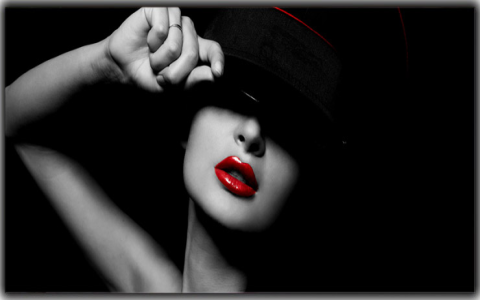
Backlight: This light comes from behind your subject, adding a nice glow to the edges, and creating a separation from the background. It’s like a halo for your subject!
Now, you don’t always need all three lights. Sometimes, one or two can be enough to get the look you want. For example, you can create a cool silhouette effect with just a backlight.
Here are a few simple setups to get you started:
1. Single Light Setup:
This is your super easy, “I just started” kind of setup.
You just use one light source, like a flash or a continuous light.
Move the light around to see how it changes the shadows. You’ll get different looks depending on whether it’s placed to the side, above, or behind your subject.
This is great for practicing and getting a feel for how light works.
2. Two-Light Setup:
Here, you’re using two lights.

Think of it like a key light and a fill light.
One light is the main light, illuminating the subject, and the other light is softening the shadows.
This gives you more control over the overall lighting and mood.
3. Three-Light Setup:
This is the classic “three-point lighting” setup.
You’ve got your key light, fill light, and backlight.
It’s the most advanced setup, giving you the most options for shaping the light.
Tips for Getting Started:
Experiment, experiment, experiment! Play around with different light sources, positions, and modifiers (things like diffusers and reflectors). The more you try, the better you’ll get.
Don’t be afraid to mess up! Photography is all about trial and error. Sometimes, the best results come from unexpected experiments.
Learn from others: Look at photos by other photographers and try to figure out how they used lighting. Pay attention to the shadows and highlights.
Online Resources: There are tons of amazing online resources and tutorials available. Check out YouTube for inspiration and technique tips.
Here’s a table to help you visualize some lighting setups:
| Lighting Setup | Key Light | Fill Light | Backlight | Effect |
|---|---|---|---|---|
| Single Light | Front and center, creating main illumination | None | None | Dramatic with hard shadows |
| Two-Light | Side light, creating one side of the face brighter | Opposite side, softening shadows | None | Balanced lighting with soft shadows |
| Three-Light | Front and center, creating main illumination | Opposite side, softening shadows | Behind the subject, adding a glow | Classic lighting with soft shadows and separation |
Remember, these are just some basic setups to get you going. As you get more comfortable, you’ll start to experiment with different variations and find what works best for you.
And hey, if you have any questions about specific light setups, equipment, or any other photography tips, just ask!
Let’s keep this conversation going! What lighting techniques are you already using? Share your experience or your favorite tips.