Eclipses are one of the most spectacular astronomical events that photographers strive to capture. However, simply taking a photo of an eclipse is just the first step. To truly bring out the beauty and detail of the eclipse, proper photo processing is essential. Here is a guide on how to process eclipse photos effectively.
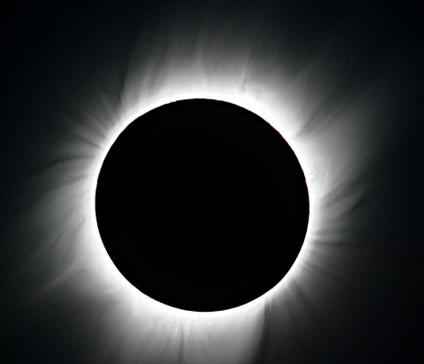
The first step in processing eclipse photos is to import the raw images into a photo editing software. Programs like Adobe Lightroom or Photoshop are popular choices among photographers. Once the images are imported, start by adjusting the exposure. During an eclipse, the lighting conditions change rapidly, and the exposure may need to be tweaked to ensure that the details of both the bright corona and the darker lunar disk are visible. Increase the exposure slightly if the corona appears too dark, but be careful not to overexpose the lunar surface.
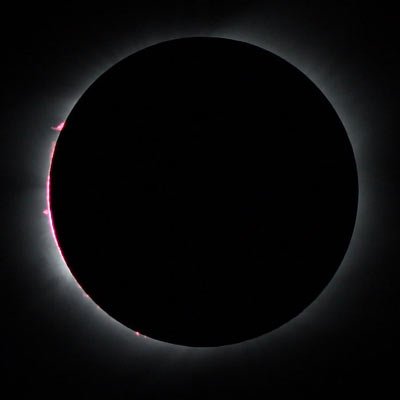
Next, work on the contrast. Enhancing the contrast can make the different layers of the eclipse, such as the chromosphere and the corona, stand out more vividly. However, like with exposure, moderation is key. Too much contrast can lead to a loss of detail in the shadows or highlights. Use the contrast adjustment slider in the editing software and make small incremental changes until you achieve a balance that looks natural and emphasizes the eclipse’s features.
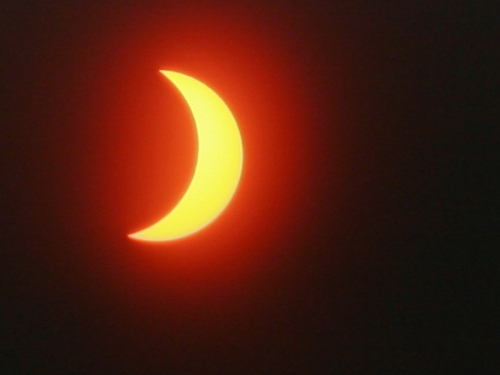
Color correction is also an important aspect of processing eclipse photos. The colors of the eclipse can vary depending on a number of factors, including atmospheric conditions and the camera’s settings. In some cases, the corona may have a yellowish or reddish tint. You can adjust the color temperature and tint sliders in the editing software to bring out the true colors of the eclipse. Try to match the colors to what you remember seeing during the event or to what is considered a more accurate representation of an eclipse.
Sharpening is another technique that can enhance the details of an eclipse photo. But be cautious not to overdo it. Apply a small amount of sharpening to make the edges of the lunar disk and the fine structures of the corona more defined. Many photo editing programs have a dedicated sharpening tool or filter. Use it sparingly and preview the image at 100% magnification to ensure that you are not introducing any artifacts or making the image look overly processed.
In addition to these basic adjustments, you may also consider using selective editing. For example, you can use a brush tool to adjust the exposure or color of specific areas of the image, such as the corona or the lunar surface. This allows for more precise control and can help to highlight certain details or correct any areas that may have been over or underexposed.
Finally, when you are satisfied with the processing of your eclipse photo, save it in a high-quality format. JPEG is a common format, but if you want to preserve all the details and have the option for further editing in the future, consider saving it as a TIFF or a PSD file.
Processing eclipse photos requires a combination of technical skills and an artistic eye. By carefully adjusting the exposure, contrast, color, and sharpness, and using selective editing when necessary, you can transform a raw eclipse photo into a stunning image that captures the wonder and beauty of this celestial event. With practice and experimentation, you can develop your own unique style of processing eclipse photos and create images that will amaze and inspire others.