
Now, I ain’t no fancy photographer, but I’ve been around the block a few times and seen enough of them beaches to know a thing or two about taking them pictures of the sand. You know, the kind where the sun’s blaring down, the sea’s shining like glass, and them little grains of sand just begging to be captured right. Well, if you’re lookin’ to get them beach photos just right, you gotta remember a few things. Ain’t just about clickin’ a button, nope. It’s all about the light, the timing, and how you play with the things in front of you. Here’s what I reckon will help you get a good shot.
1. Time it Right
Now, first thing’s first. You gotta plan when you go out there. The best time to take them beach pictures is either early in the mornin’ or late in the afternoon. The sun, she ain’t so harsh then. Don’t go out there when it’s high noon unless you want your pictures to look like you’re cookin’ eggs on the sand. The light’s softer in the mornin’ and evening, so you get them long shadows and that nice warm glow. And don’t worry if it’s cloudy neither. A little cloud cover makes for good light too, helps soften them bright spots that can ruin a picture.
2. Play with the Composition
Now, I’ve seen a lot of folks just point and shoot, but you gotta think a bit when you take them pictures. Don’t just stick that camera in front of you and snap away. Take a look around and think about what’s in the frame. Is there something interesting in the foreground? Maybe a big ol’ rock or some driftwood? Maybe them waves crashing just right? The beach ain’t just about the sea and sand, you know. Look for them little details that add to the picture, and try to balance things out so it don’t look too crowded or too empty. Sometimes, I like to throw a little somethin’ extra in the foreground to make it pop.
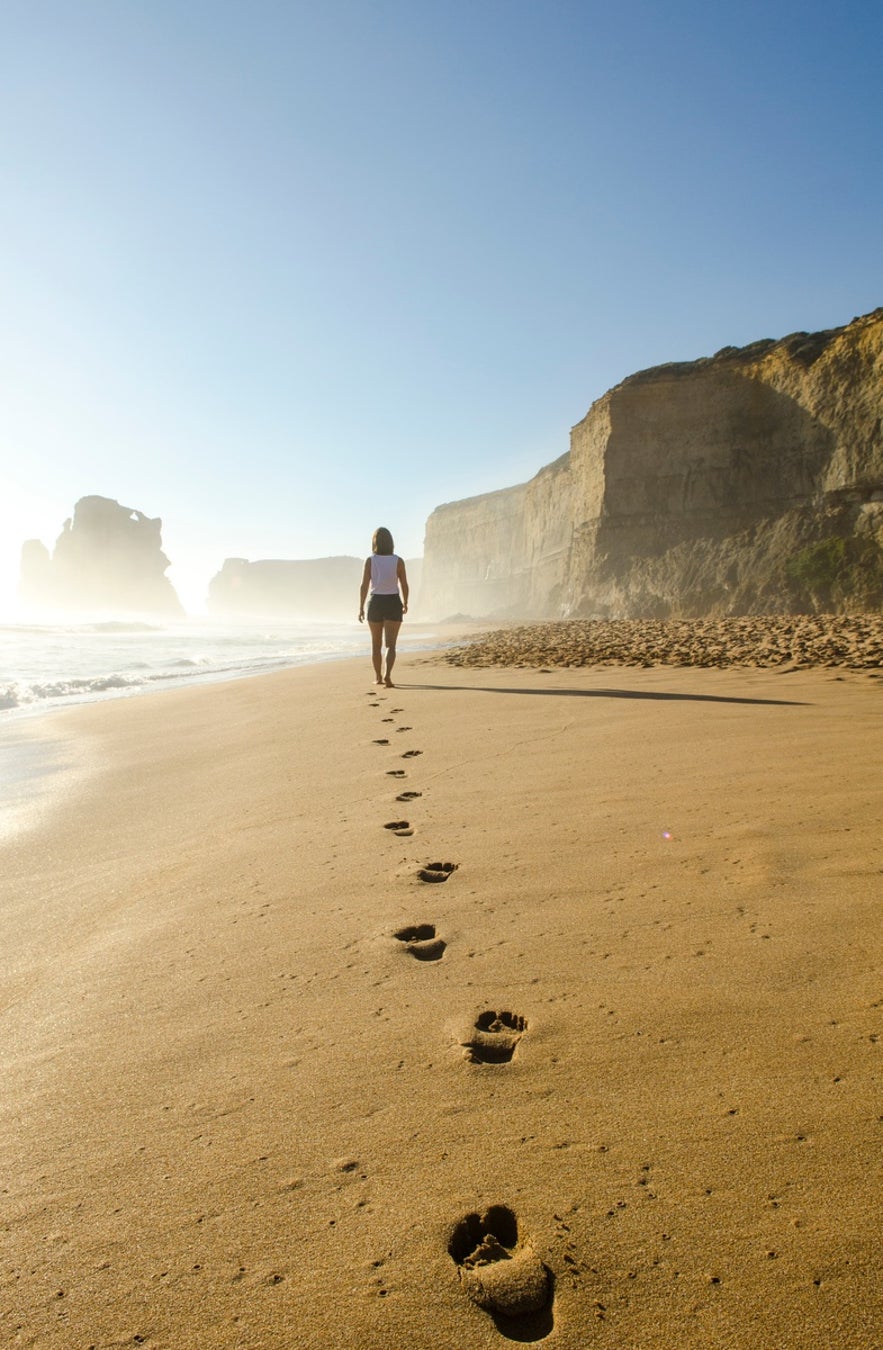
3. Watch the Sun
You’d think it’d be easy with all that sun around, but it’s trickier than you think. The sun’s mighty bright, and that can cause all sorts of trouble in a picture. If you’re tryin’ to catch the sparkle on the water or them wet sands, be careful not to let the light hit the lens directly. It’ll mess up your shot quicker than a cat runnin’ from a dog. You gotta position yourself so the sun’s off to the side, or even behind you, so the light hits the sand and water just right. This helps you get them nice bright colors without them harsh shadows that make things look all wrong.
4. Set Your White Balance
Now, this might sound all technical and fancy, but trust me, it’s simple. White balance is just makin’ sure the colors in your picture look natural. Sometimes, when you’re at the beach, the sand or the water can mess with the colors in the photo, and it’ll look all washed out or too yellow. If you’ve got a camera where you can adjust this, mess around with it a little until them colors look right. A nice crisp white sand or the deep blue sea can make all the difference in a beach photo.
5. Experiment with Texture
When you’re takin’ them pictures, don’t forget to focus on texture. Texture is what gives a picture life. You don’t just wanna show the beach, you wanna show how that sand feels underfoot or how them waves curl up on the shore. You can do this by gettin’ up close to the ground or by focusin’ on details like them little seashells or the way the sand ripples. The texture of things adds depth to your photos, makes ‘em look more real and tangible. Ain’t nothin’ like seein’ them grains of sand up close, or watchin’ a wave freeze in time with all its bubbles and froth.
6. Use Neutral Density Filters
Now, this one’s a bit of a trick I picked up from some of them folks who know their stuff. A neutral density filter helps you deal with bright conditions at the beach. What it does is it cuts down the amount of light that comes into your camera, so you don’t get them blown-out spots where the light’s too much to handle. With one of these filters, you can get that nice smooth water look, or maybe blur them waves a little, so they look all dreamy. It’s a neat little tool if you wanna make your beach photos look extra special.
7. Don’t Be Afraid of Bad Weather
One thing I’ll tell ya – don’t be scared of bad weather. Some of the best beach photos I’ve ever seen were taken when the weather wasn’t perfect. A stormy sky or some dark clouds can add drama to a picture that a clear sky just can’t match. Plus, if you wait for a storm to pass, you might just catch the sun peekin’ out from behind them clouds, and that’s when you get the best light. Just make sure you’re ready for whatever comes your way. I’ve seen more than one photographer pack up when the wind picks up, but sometimes that’s when the magic happens.
So, there you have it. A few little tips from someone who’s seen the beach and tried to snap a few good pictures over the years. It ain’t as hard as it seems, but it does take a little bit of thought. Plan your time, watch your light, and pay attention to the textures and the little details around you. With a little luck and a lot of patience, you’ll get yourself some beach photos that’ll make folks say, “Now that’s a good one.”

Tags:[beach photography, photography tips, sandy beach, texture photography, landscape photography, beach photo composition, camera settings, white balance, neutral density filters, beach photo timing]