


Well, folks, let me tell ya, if you want to make your pictures look like they come from the good old days, there’s a whole lotta stuff you gotta mess with. You know, them vintage pictures with that old-timey feel to ’em. You can make a photo look like it was taken in the past, all grainy and dreamy. Ain’t no magic to it, just a bit of elbow grease on the ol’ computer. I ain’t no expert, but I can tell you a few tricks that’ll help ya out when you’re playin’ around with your pictures after you take ’em.
Startin’ off with the basics
Now, first things first, before you start throwin’ around fancy words like “curves” and “split toning,” you gotta get your hands dirty with the basics. Ain’t no need to get fancy if you don’t know the ropes yet. You need to learn how to adjust the brightness and fix them colors. Makes all the difference, I tell ya. If your picture’s too dark or too bright, you can fix that. If the colors ain’t lookin’ quite right, you can fix that too. A good old tweak here and there goes a long way.
Understanding them settings
Now, let’s talk about them settings. I ain’t talkin’ about them big fancy cameras y’all might use, but more like the things you fiddle with after you take the picture. You got things like shutter speed, ISO, and aperture—these are what make or break a good picture. But once you get the shot, you gotta start playin’ with the picture on the computer. That’s where the real magic happens.
When it comes to adjustin’ them tones, you need to focus on a couple of things—mostly Curves and Split Toning. Curves is where you can make your photo look all bright and high contrast, or dark and moody. It’s like puttin’ a little sugar in your coffee, you know? Ain’t much, but it sure makes a difference. And Split Toning, well, that’s when you give your photo a little tint, kinda like when you put a pair of rose-colored glasses on, makes everything look warm and cozy.
Creating that vintage look
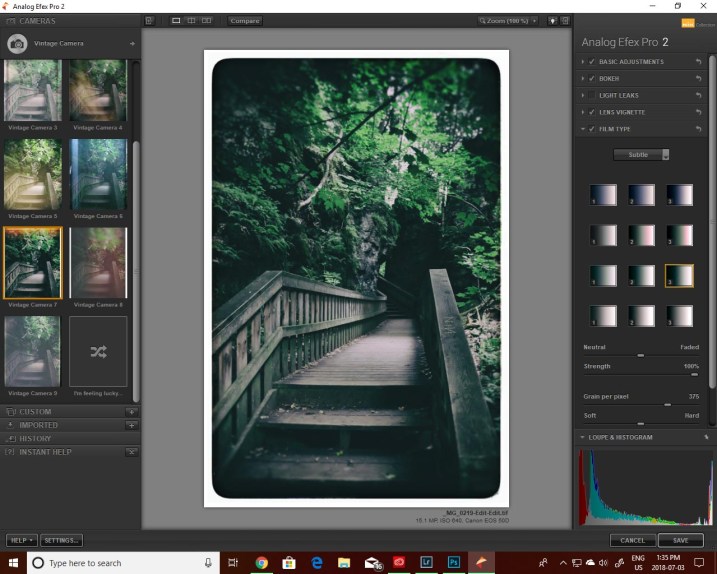
Now, if you really wanna get that vintage look, you gotta mess with the grain. Not the kinda grain you get from your breakfast cereal, but the film grain. That’s what makes the picture look like it was taken on one of them old film cameras. You know, the kind where you had to wait days for the pictures to come back from the photo shop? You throw a little bit of grain in there, and all of a sudden, your picture looks like it’s been sittin’ in your grandma’s attic for years.
Also, you can use templates. You know, like them old-timey photos that look faded and worn. You can make your picture look like that too. Just need to get the right filter or overlay to add that extra touch of age. Ain’t no shame in usin’ a little help from them fancy tools. Makes the job easier and the results nicer.
Fine-tunin’ your image
When you got the basics down and you’re workin’ with them fancy tools, you gotta start fine-tunin’ things. Adjust the shadows, highlights, and contrast just right. It’s like when you make a quilt—every stitch counts. You don’t want it too dark, but you also don’t want it too bright. It’s all about balance. And don’t forget about the colors! If you want a picture that looks like it’s straight out of the ’60s, you might wanna pull the colors back a bit. Less saturation, more muted tones. That’s how they did it back then, you see.
Leibovitz and her post-processing
Now, if you’ve ever heard of Annie Leibovitz, she’s a big-name photographer. She does a lot of post-processing on her photos to get them lookin’ just right. She spends a lotta time on color grading and making sure the tones match the feel of the picture. That’s the trick to makin’ the photo feel like a story, rather than just a snapshot. You gotta think about what mood you want to capture. If it’s all dark and moody, you might want to cool the tones down a bit. If it’s a bright, sunny feel, you might want to warm it up some. It’s all about what you’re tryin’ to say with your picture.
Don’t forget to keep it real
But here’s the thing—no matter how much you mess with the colors and the contrast, you don’t wanna lose the soul of the picture. You still gotta keep the subject lookin’ like themselves. You can tweak a picture all you want, but if you change it too much, it ain’t the same picture anymore. You still gotta keep it honest, you know? Ain’t no need to go overboard with them adjustments.
Final thoughts

So, in the end, creating them vintage-lookin’ photos ain’t all that hard. You just need a little know-how and some patience. Mess with your brightness and colors, throw in some grain, use them Curves and Split Toning, and you’ll be makin’ photos that look like they belong in a history book. It’s all about practice, so don’t get discouraged if your first try doesn’t look perfect. Keep tryin’, and soon enough, you’ll be a pro at turnin’ them photos into something special.
Tags:[Vintage Photography, Post-processing, Photography Tips, Color Grading, Retro Photos, Photography Techniques, Curves Adjustment, Split Toning, Film Grain, Photo Editing]


