


Well, if you’re lookin’ to set up some indoor lights for takin’ photos, there’s a few things I gotta tell ya. First off, it ain’t like you just toss a light in the room and hope for the best. No, no. You gotta think ’bout where you put that light and how it’s gonna bounce off the walls and stuff. If you want the pictures to look nice and not all shadowy and washed out, you gotta get that light right.
Now, one thing I’ve learned, and I’ve seen plenty of folks mess it up, is the angle of the light. If you put your light at a 45-degree angle from the wall, it helps to get rid of too many shadows and glare. Shadows can make the photo look all strange, and glare just hurts the eyes! You don’t want that. So, try to place the light a little to the side, not too close to the wall but not too far either. Just right. If you gotta tilt the lamp to get it right, don’t be scared to do it. Just loosen up the knob a bit, move it around, and tighten it again once you’ve got it where you want it.
Now, I gotta tell you, if you’re lookin’ to take portraits or any photos where the light’s gotta be soft, you gotta go with that natural light. Indirect sunlight’s your best friend, especially if you’re indoors. You ever notice how soft the light looks when it’s comin’ through the window, but it’s not directly hittin’ the subject? That’s the kinda light you want! It’s like your window becomes a big softbox, and that light softens everything up, makes the shadows less harsh. It’s the perfect light for portraits, I tell ya. You’ll see the difference right away.
But, if the sun’s too bright or direct, you might end up with harsh shadows and that ain’t no good. So, best to wait for a cloudy day or set your light up near a window, so the sunlight don’t hit directly, but just filters through. It’ll give you that nice, even glow that makes everyone look good in the pictures.
Now, if you’re stuck inside with no natural light, you’ll need to use your own lamps and lights. But that can be tricky too, ’cause too much artificial light can make things look all stiff and fake. The trick with artificial lights is to bounce ’em. Instead of pointing them straight at the subject, you bounce ’em off the wall or the ceiling. That softens the light and makes it feel more natural. You don’t want to just blast a spotlight at someone – that makes ‘em look like they’re under interrogation!
Another thing to keep in mind when you’re settin’ up your lights is to think ’bout the color temperature. Y’know, lights can either be warm or cool. If you’re usin’ a yellowish light, that’s warm, and if it’s blue, that’s cool. You want the colors in your photo to look natural, right? So, try to match your light temperature with the time of day. If it’s a sunny day, use a warm light to match that, but if you’re indoors at night with artificial lights, go for something cooler so it doesn’t clash with the natural light.
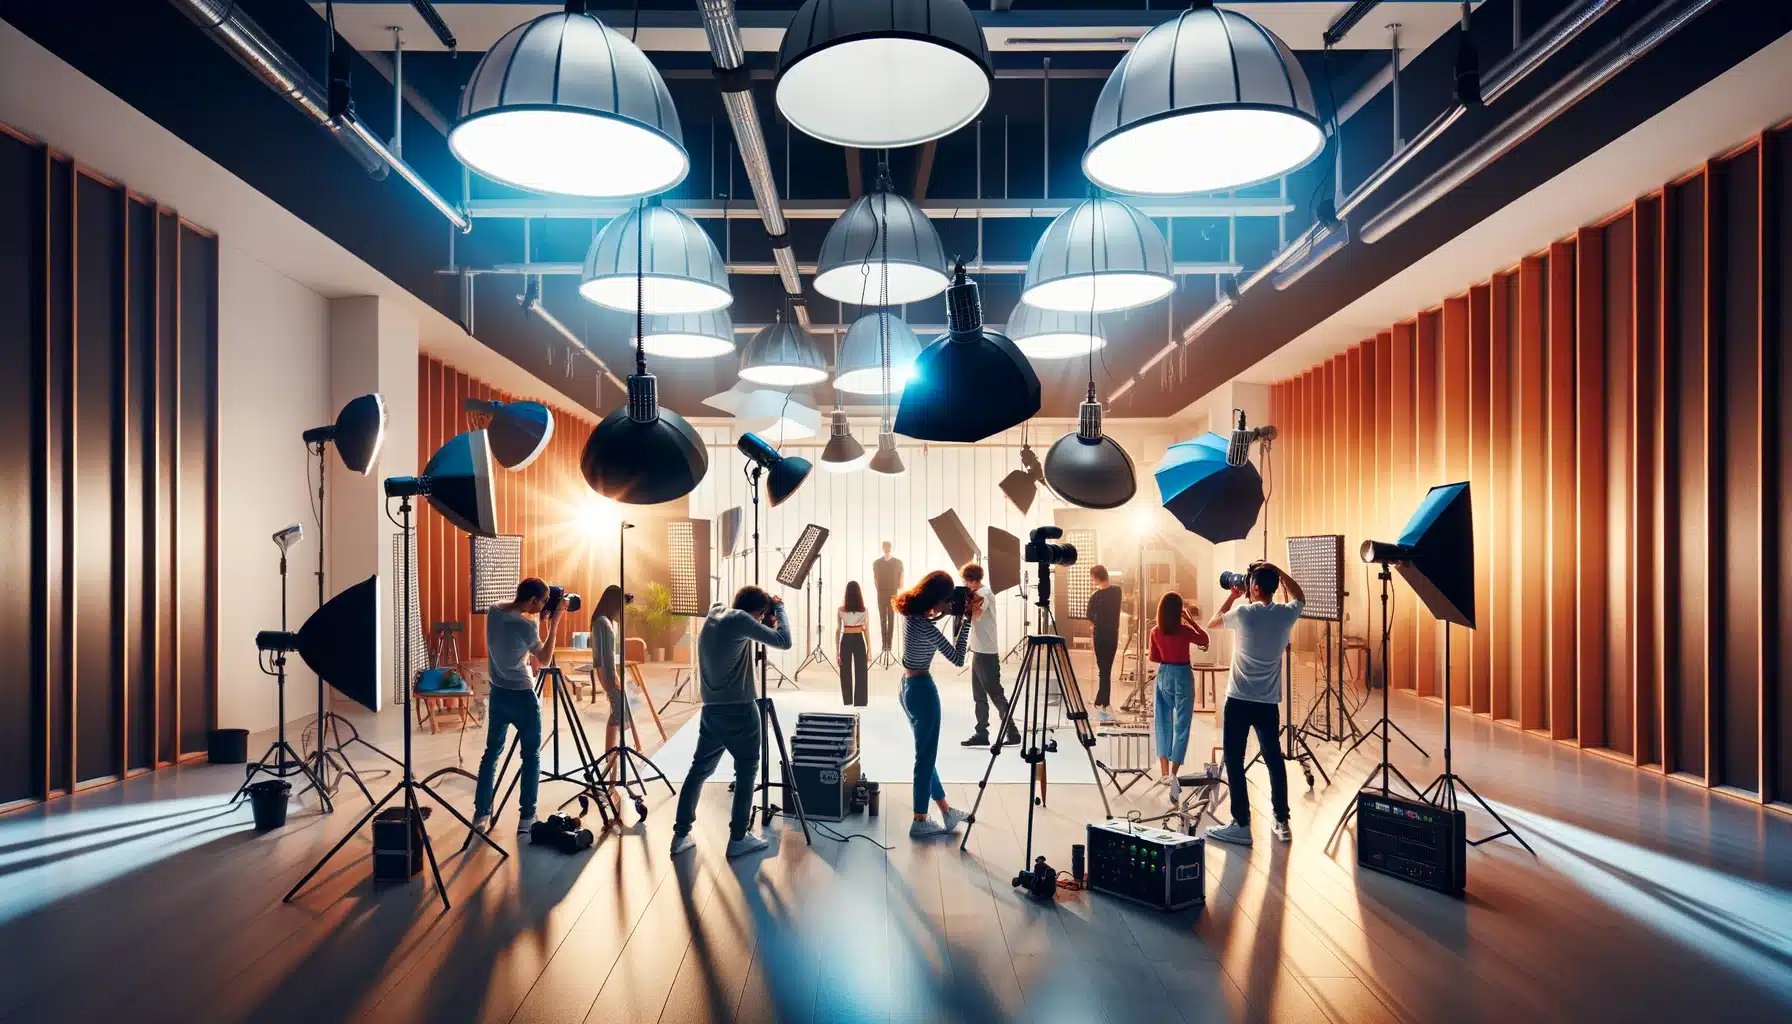
Some folks mess up their photos by usin’ too many lights. I’m tellin’ ya, less is more sometimes. You don’t need ten lights to take a good picture. Two or three lights placed right is plenty. One main light, a fill light to soften the shadows, and maybe a backlight to separate the subject from the background – that’s all you really need most of the time. And keep in mind, if your background’s too bright, it’ll take away from the subject. Make sure the background’s not too flashy, or it might distract from the person you’re tryin’ to photograph.
And, oh, don’t forget about your camera settings. Even with perfect lighting, if you don’t have the right exposure, your pictures might turn out too dark or too light. So, make sure you adjust that shutter speed and aperture right so the light looks just right in the photo.
So, there you have it. Set up your lights properly, think about the angles, and make sure you’re usin’ that soft, indirect natural light when you can. Keep it simple, and don’t go overboard with too many lights. Just a few well-placed ones, and you’ll be takin’ pictures like a pro in no time.
Tags:[indoor photography, lighting setup, portrait photography, soft light, natural light, artificial light, photo tips, lighting mistakes]


